I run a lot of small experiments that try to find the sweet spot between consistent publishing and not burning out. One trick that saved me hours is automating content repurposing: take a blog post and turn it into a series of social posts, image cards, and link snippets — automatically. In this guide I’ll walk you through a step-by-step cron-like job using Zapier to do exactly that, from fetching new posts to scheduling social updates. No heavy engineering required, just a predictable workflow you can tweak.
Why automate blog → social repurposing?
Doing this manually is time-consuming, inconsistent, and easy to deprioritise. Automating helps in three concrete ways:
- Velocity: you publish more often without more writing.
- Consistency: your audience sees regular reminders about evergreen content.
- Signal-to-noise: you turn one long-form asset into multiple bite-size hooks that match platform behaviour.
Zapier is a great middle-ground because it connects many tools (RSS, Google Sheets, Airtable, Buffer, X, LinkedIn) and gives you scheduling/triggers without a server. Think of Zapier as your cron scheduler + job runner.
Big-picture workflow
Here’s the flow we’ll build. Treat it like a cron job that checks for new posts, extracts usable blocks, formats them for platforms, and queues them in a scheduler.
- Trigger: new blog post detected (RSS or webhook)
- Extract: parse title, hero image, intro paragraph, key quotes, call-to-action
- Transform: create social copy variants and image cards
- Queue: push a batch of posts to a scheduling tool (Buffer, Hootsuite, or native platforms via Zapier)
- Log: append metadata to a Google Sheet / Airtable for tracking and analytics
What you need before starting
- Zapier account (Free for simple tests, paid for multi-step Zaps and higher task limits)
- Blog RSS feed (most CMS have one: /feed or /rss). Alternatively, a webhook from your CMS or a Zapier RSS trigger.
- Google Sheets or Airtable for state and content transformations
- Image storage (Cloudinary, S3, or your CMS image URL). Zapier can also make simple image overlays via integrations like Cloudinary or Canva.
- Social scheduler accounts (Buffer, Hootsuite, or native social integrations: X/Twitter, LinkedIn, Facebook Pages)
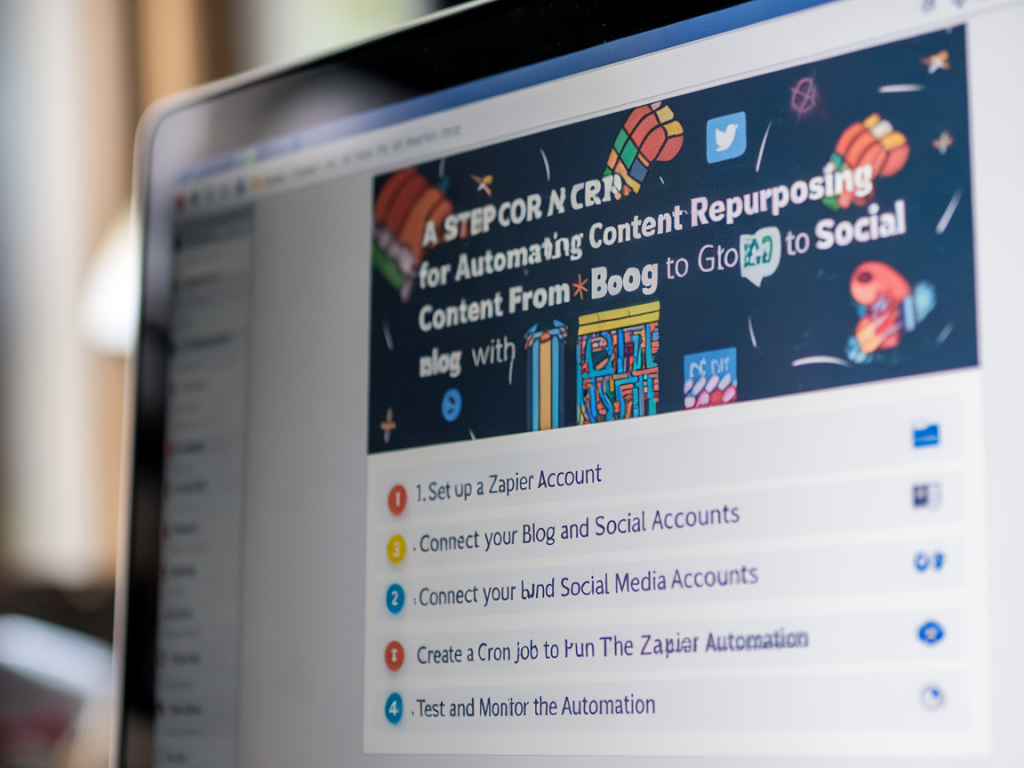
Step-by-step Zapier setup (cron-like)
Follow these steps in Zapier. I’ll explain options and pitfalls for each stage.
Trigger: New post detection
Option A — RSS by Zapier:
- Choose the "RSS" trigger in Zapier and set "New Item in Feed" with your blog feed URL.
- Zapier polls the feed at its own cadence (every 15 minutes for paid plans, slower for free) — this is effectively your cron frequency.
Option B — Webhook (preferred if your CMS supports it):
- Set Zapier's "Catch Hook" webhook and configure your CMS or publishing pipeline to call it on publish. This is immediate and avoids polling limits.
Action: Parse and extract useful pieces
The raw blog post contains everything; the job now is to extract bits that make good social posts.
- Use Zapier’s "Formatter → Text" to strip HTML from the excerpt and extract the first 150–300 characters for a hook.
- Pick 2–3 quotable sentences manually via a "Create record in Airtable" step, or use a tool like OpenAI via Zapier to suggest key sentences (if available in your plan).
- Store title, URL, hero image URL, and estimated read time in Google Sheets or Airtable as a record for later tracking.
Action: Generate variants
Social platforms prefer different flavours. I create 3–4 variants per post:
- Short hook (under 140 characters) for X/Twitter.
- Longer excerpt with CTA for LinkedIn.
- Question or stat-based hook for image cards and Instagram.
- Hashtag suggestions.
Use "Formatter → Utilities" and simple text templates inside Zapier to build these. If you want AI help, add a step calling OpenAI (or Zapier's AI) to rewrite the excerpt into multiple tones: concise, curious, and conversational.
Action: Create visual assets (optional but high impact)
I like pairing each variant with a simple image card — title, author, logo, and a short hook.
- Use Canva’s Zapier integration: trigger a Canva template to populate text and export a PNG.
- Or use Cloudinary/Imgix to overlay text via URL parameters if you prefer code-free automation.
Remember to keep accessibility and contrast in mind — automated cards can be off-brand unless you use strict templates.
Action: Schedule posts to social
Now push variants to a scheduler:
- Buffer integration: Create a "Create Update" action for each variant. Buffer can queue at optimal times or specific times.
- Direct platform posting: Zapier supports LinkedIn and X. For Instagram, use Buffer/Meta Creator Studio (direct posting for single image or use reminders for stories).
- Stagger the posts: space them across days/weeks to avoid flooding followers. You can calculate post times in Zapier using "Formatter → Date/Time" to add offsets (+2 days, +1 week, etc.).
Action: Log and monitor
Always log every scheduled item so you can follow up with performance data and avoid duplicate reposts.
- Append a row to Google Sheets or create a record in Airtable with: post title, variant type, scheduled time, platform, Zap run ID, and status.
- Use Zapier to update the record when a post is published (via success callback) or to mark failures for manual review.
Error handling and edge cases
- Duplicate detection: Add a lookup step that checks your sheet/airtable for the post URL before proceeding. If it exists, stop the Zap.
- Rate limits: Social APIs can rate limit. Queue smaller batches and include conditional delays (Zapier has "Delay" actions).
- Broken images: Validate image URLs with a "Webhook → GET" and fallback to a default image if 404.
- Content length: Use text truncation with a clean ellipsis and include the link.
Template mapping
| Variant | Purpose | Length / Assets |
|---|---|---|
| Short hook | Quick attention on X | ~120 chars + image card |
| Long excerpt | Thoughtful share on LinkedIn | 200–400 chars + link preview |
| Quote card | Branding + visual engagement | Image (Canva) + 1-line quote |
Testing and iterating
Start small: route the Zap to a private test channel (a private Twitter/X account or a Slack channel) and validate copy, images, and scheduling. Track which variant types get the most engagement in your log and iterate. For me, quote cards and short hooks win more often, but your niche can differ.
One last practical tip: include a short human-review window. Automate the heavy lifting, not the final quality control. I set a two-hour delay after publishing where Zapier creates the variants and pushes them into a "Ready to Schedule" Airtable view. I scan the view quickly for tone and brand adherence, then flip a checkbox that triggers the final scheduling Zap. That small gate keeps things safe while preserving automation's speed.